Add Branch
Create a new branch to feature on your website.
Add a new branch:
- Go to Branches. You can get to this area by clicking your name in the upper right hand corner and going to My Account.
- On the left hand side you will find the Branch Menu. Click into the menu so you can get into the overview of your Branch section.
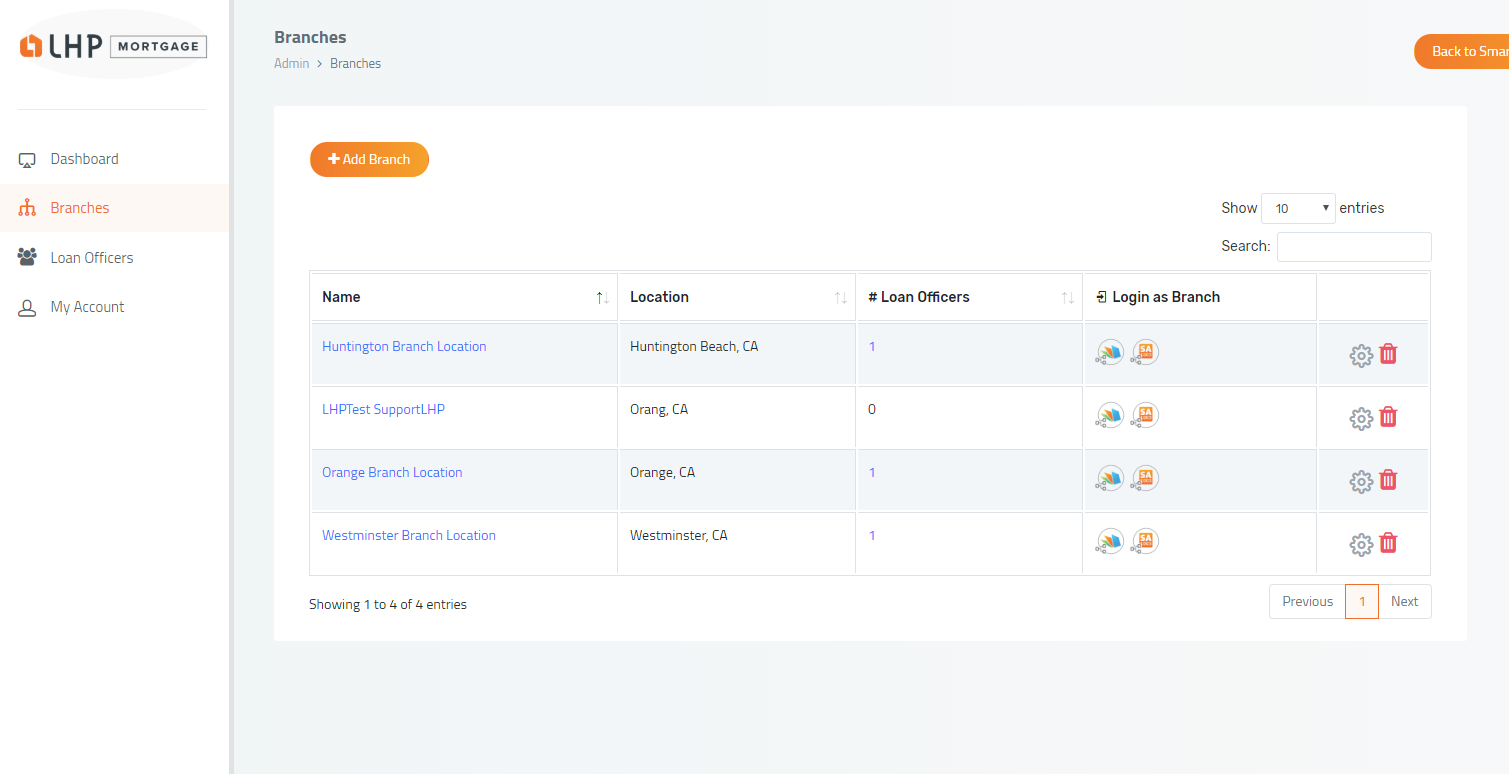
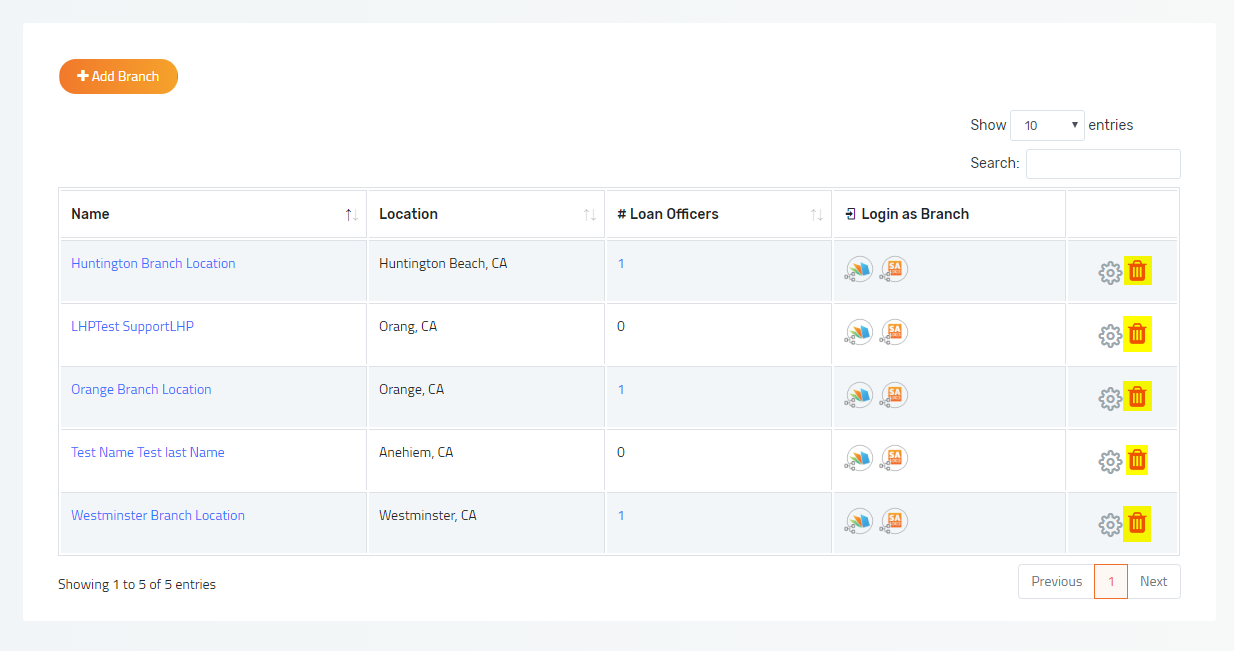
3. To create a new branch click the Orange Add Branch button
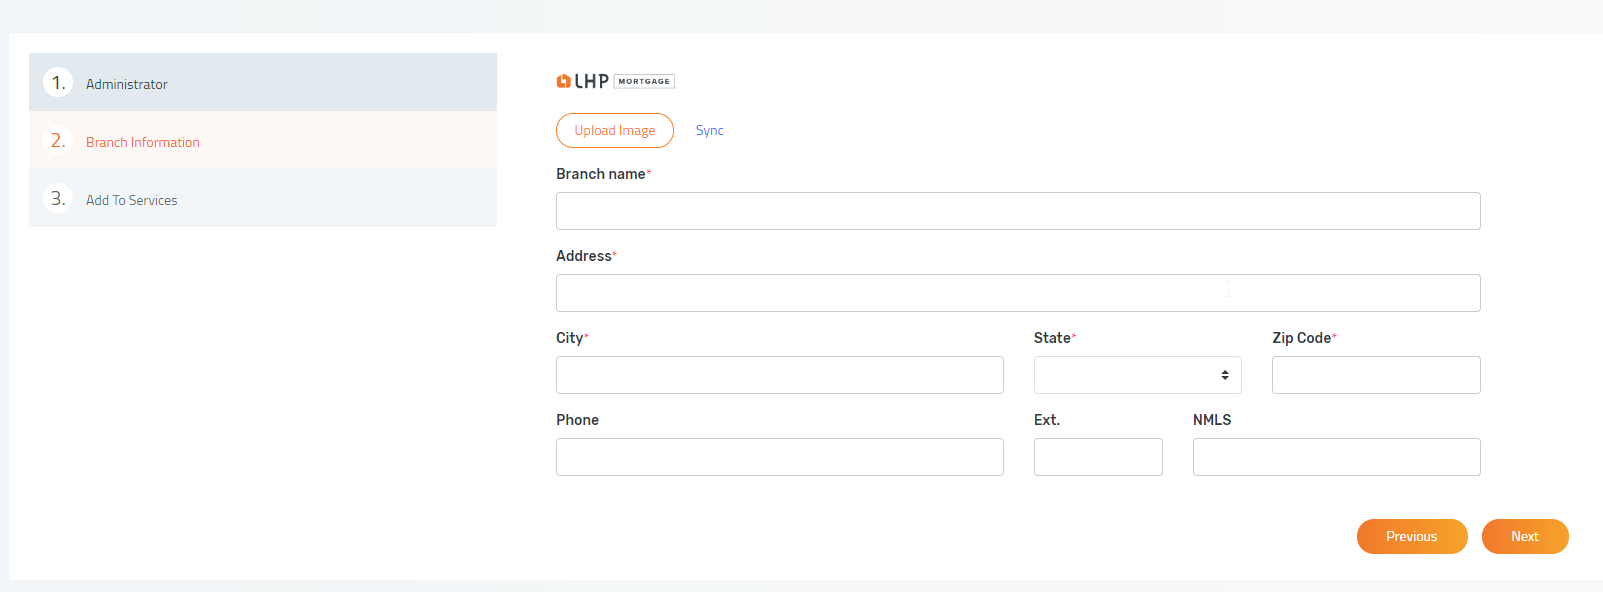
4. You will be required to enter a Branch admin email, and soon to follow will be some additional questions.
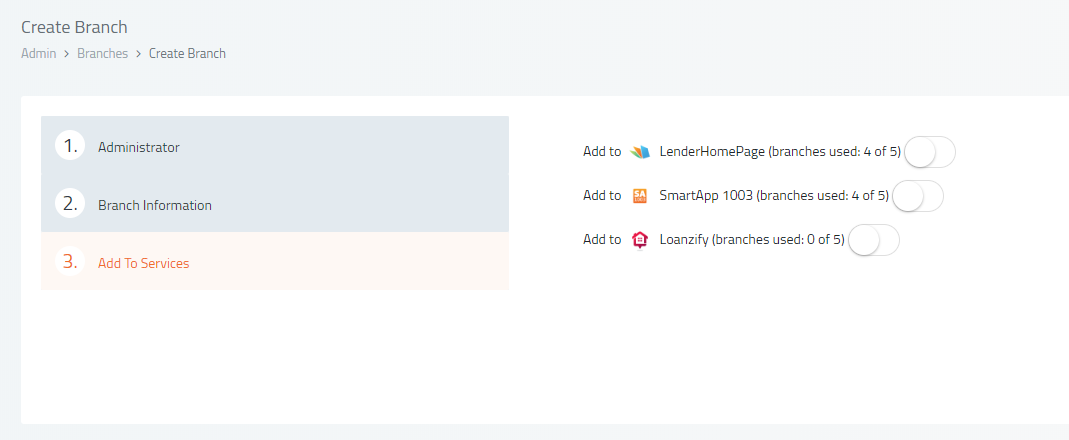
5. Depending on which services you will be providing the Branch, you will have the opportunity to enable to services in the final step.
If you would like to create a branch but don't have any available branches, please contact your representative.
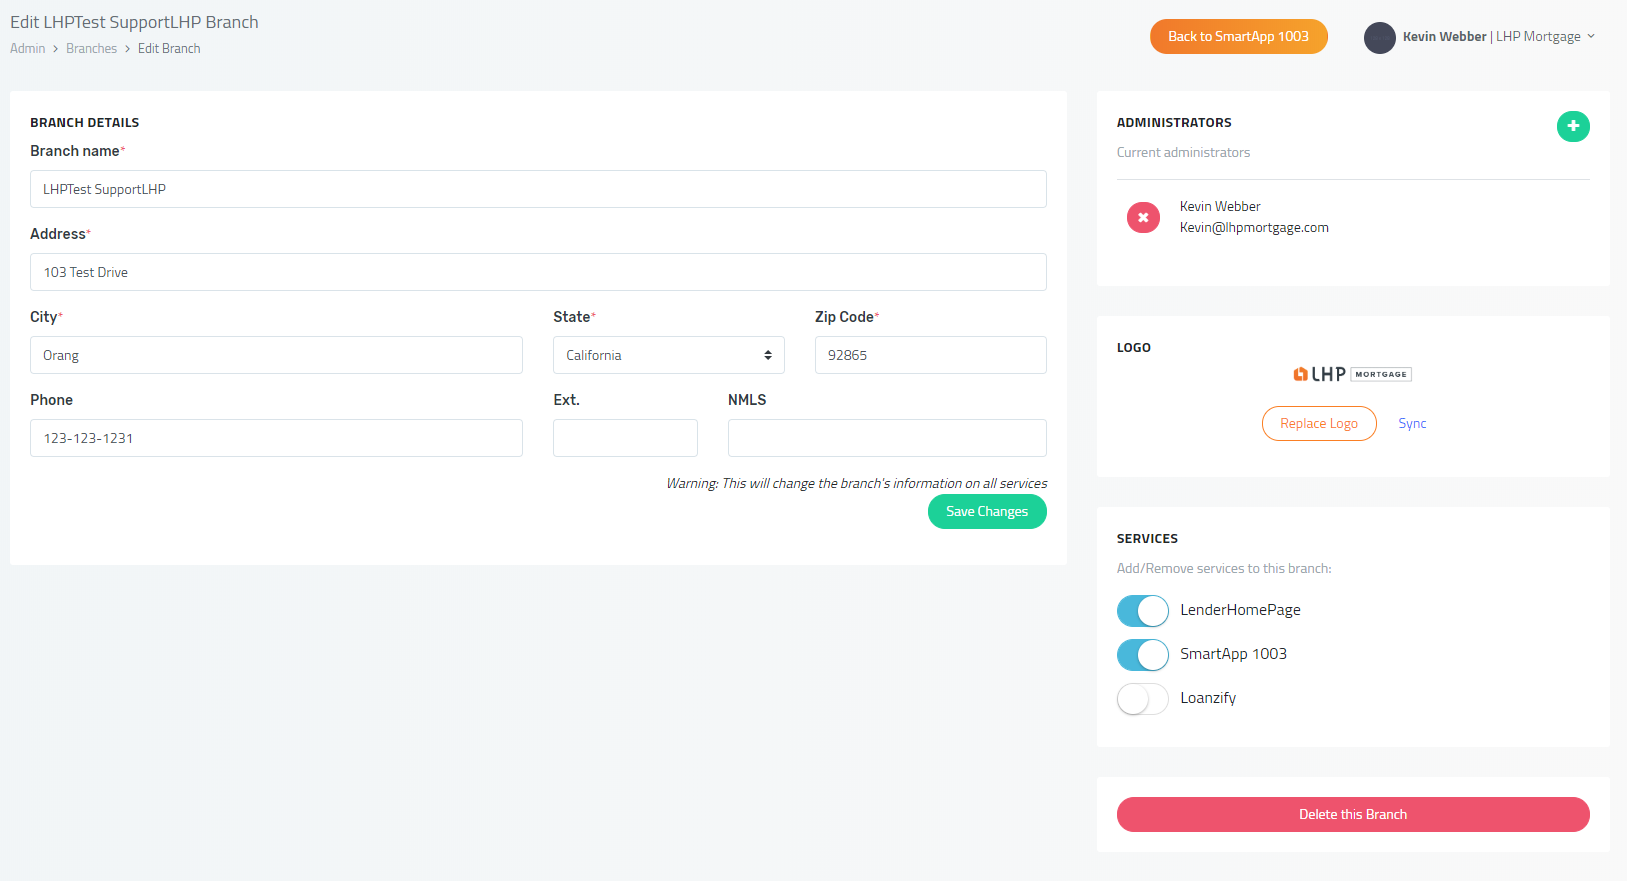
Edit Branch
Change the branch administrators information or the branch information.
Edit a branch:
- Go to Branches. You can get to this area by clicking your name in the upper right hand corner and going to My Account.
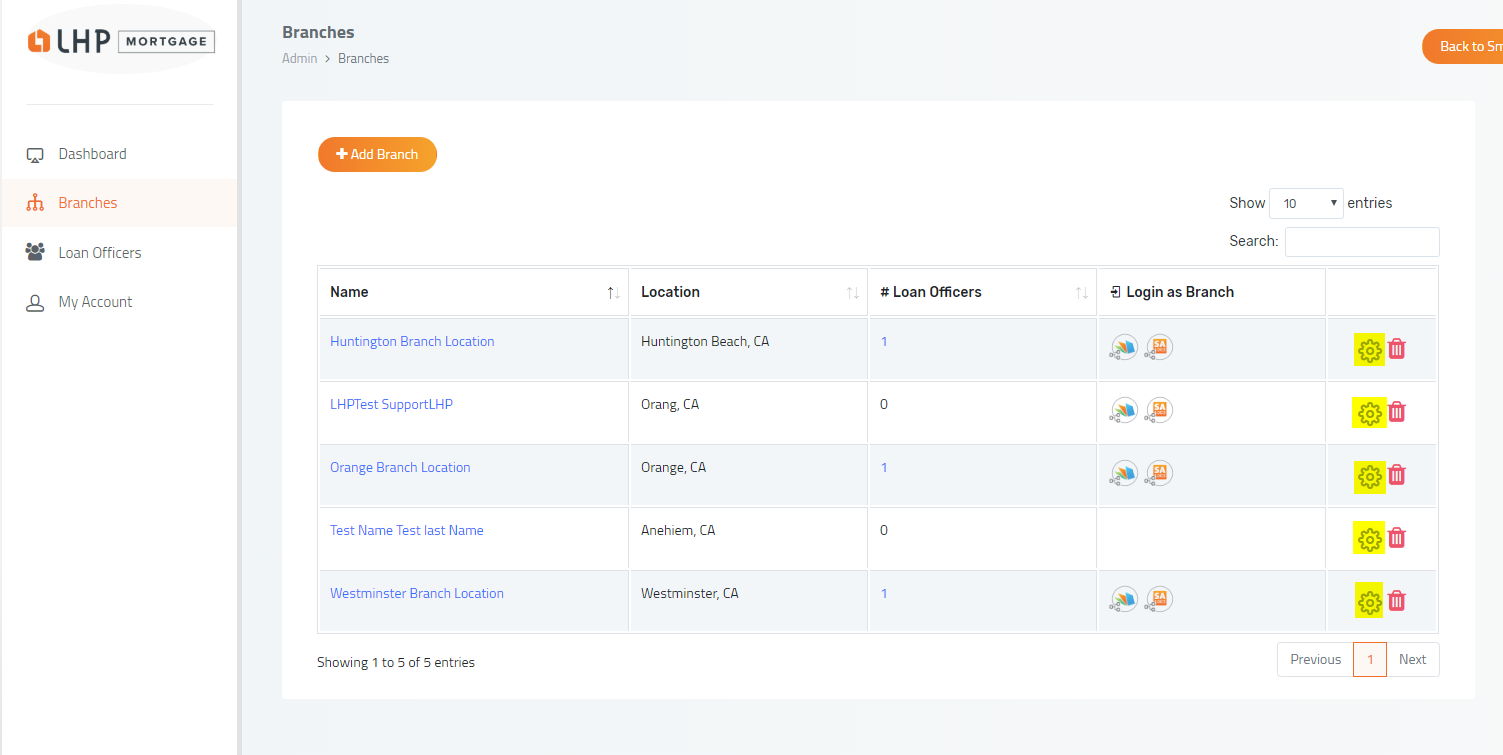
- Under the section labeled "Branches" you will find a Gear Icon next to each Branch that you may have in the list.
3. Type in the updated information and or add additional Services. Once you have finished, click Save Changes.
Remove Branch
Remove a branch from your website.
Remove a branch:
- Go to Branches. You can get to this area by clicking your name in the upper right hand corner and going to My Account.
- Under the section labeled "Branches" you will see red trashcan icons which allow you to delete Branches.
3. Click "OK" to confirm that you want to delete this branch.
Did this answer your question?