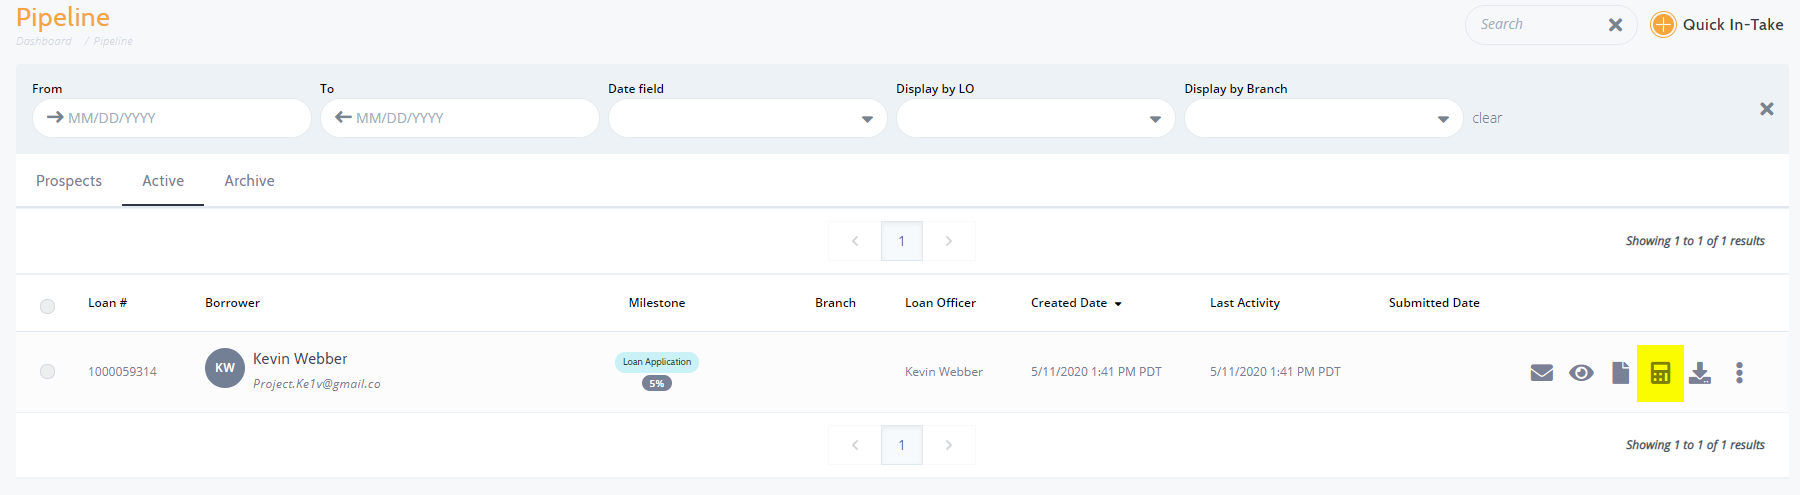
- To generate a Pre-Approval letter you will want to head over to your Pipeline and on the right hand side you will see a series of Icons and one of those will be a Calculator icon. This is where you can generate the Pre-Approval
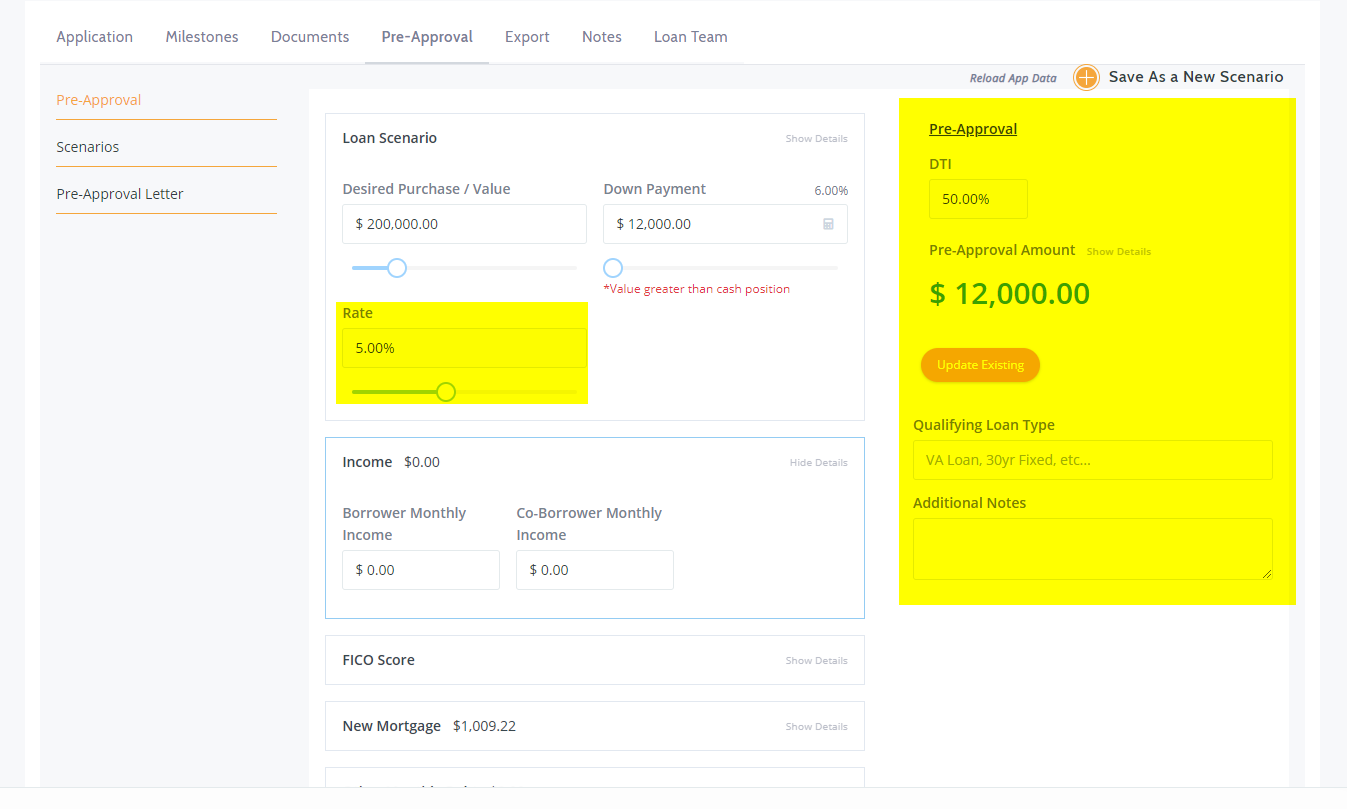
2. When you are within the Pre-Approval section you will be presented with a more detailed breakdown. If the applicant has already submitted Desired Purchase / Value and Down Payment details the highlighted areas will populate automatically.

3. You will notice on each section you will see a small message of Hide Details, or Show Details. Clicking this link will hide or show the details within the box.
4. When a Rate is entered, you will see the right hand section gets generated and will look something similar to where you can update any necessary details as well and or leave notes:
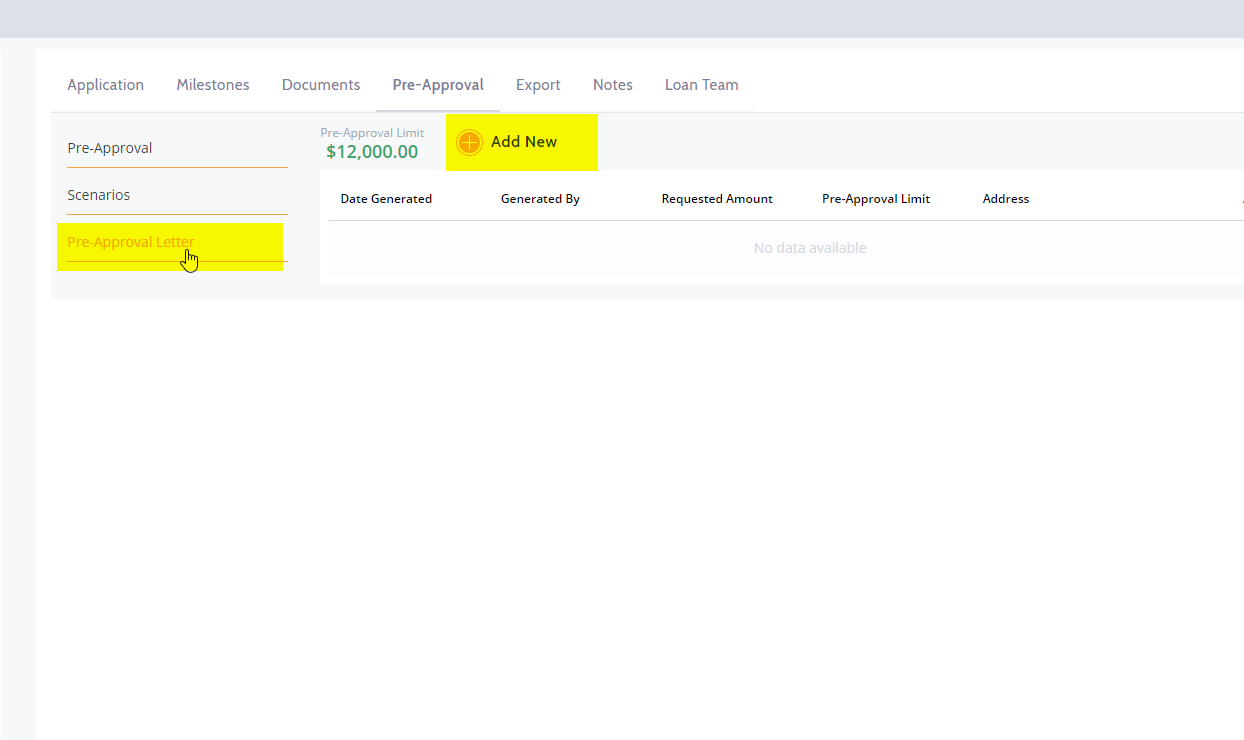
5. From this point you can create additional Pre-Approval letters:
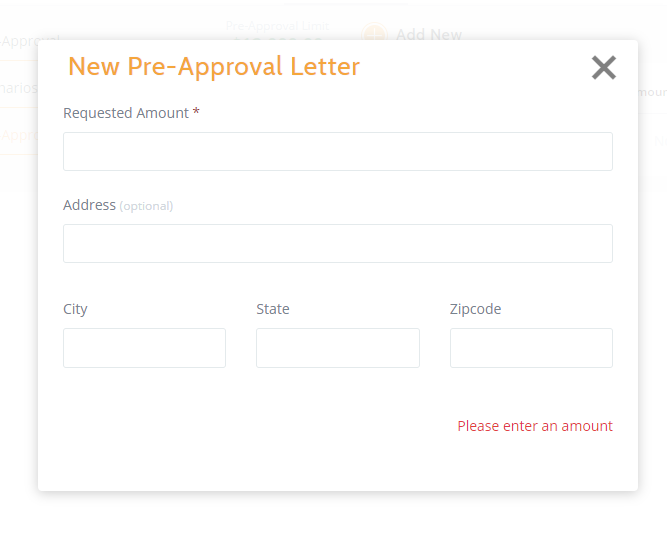
New Pre-Approval Letter
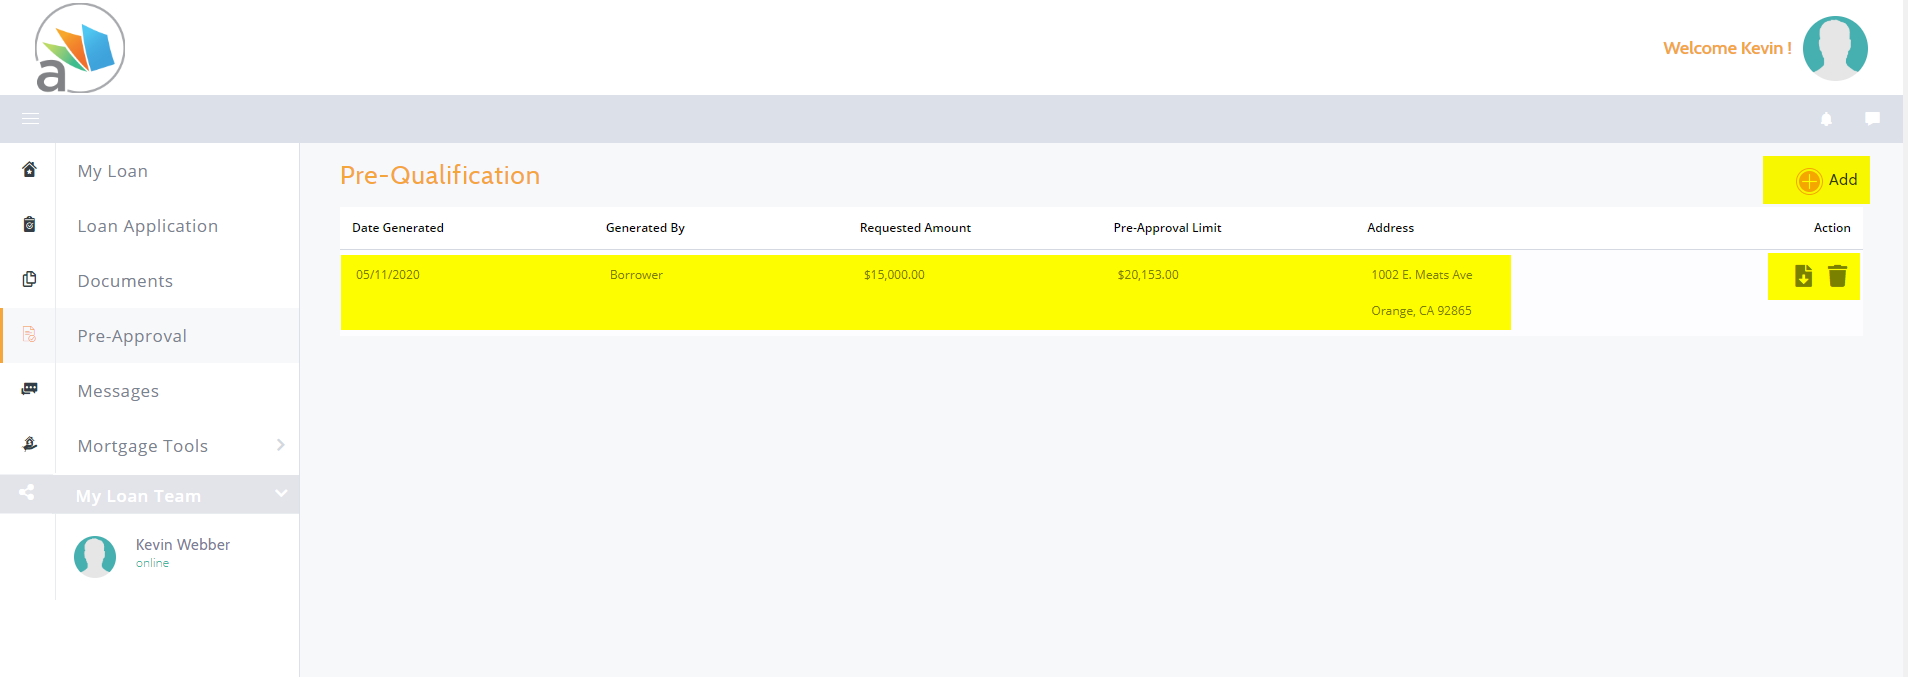
Once this has been completed, there will now also be a new feature for the Applicant in his Dashboard, and this will give him the ability to generate a Pre-Approval by clicking Add. The Pre-Approval can be Downloaded/Deleted from this same section:
 Did this answer your question?